Summary
A high-functioning dish area follows one-directional flow with no backtracking of dirty and clean items.
The Correct Dishroom Workflow (Step-by-Step)
1. Dirty Drop-Off Zone
Servers or tray return deliver dirty ware
No clean items ever enter this zone
2. Scrape & Sort Station
Food waste removed
Items separated by:
- Plates
- Glassware
- Utensils
- Trays
- Cookware
3. Pre-Rinse Station
Heavy grease and residue removed
Power hose used
Prevents tank contamination
4. Dishwasher Load Zone
Proper racking
Spacing confirmed
Wash arms unobstructed
Sanitizer verified
5. Clean Outfeed / Air-Dry Zone
Items exit dishwasher
Air dry only
No towel drying ever
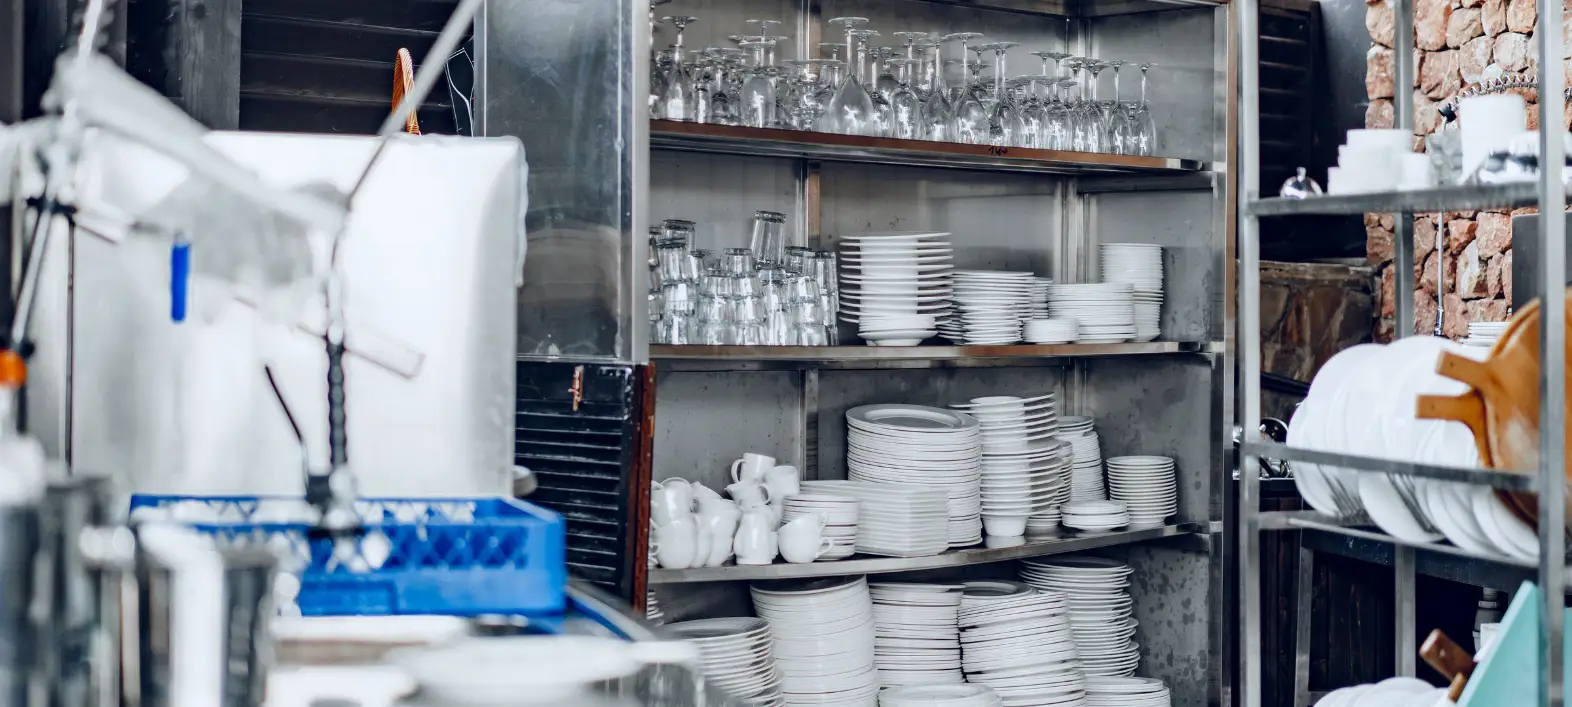
6. Clean Storage Zone
Clean dishes moved immediately to:
- Shelving
- Racks
- Cabinets
No stacking while wet
Common Workflow Design Mistakes
- Dirty and clean tables touching
- No physical separation between zones
- Staff crossing paths with clean and dirty wares
- No dedicated pre-rinse area
- Clean storage located under plumbing
- Floor stacking due to lack of shelving
These cause:
- Cross-contamination
- Re-inspection failures
- Staff confusion
- OSHA safety issues
Workflow Design Principles Aldevra Uses
- One-directional flow only
- No crossing of dirty and clean paths
- Dedicated pre-rinse & scrape station
- Proper drain and floor sink placement
- Adequate clean storage
- Clear staff traffic lanes
- Utility access without disrupting flow
Aldevra System-Level Best Practice
A dishwasher is only one part of the dishroom system. Tables, storage, pre-rinse equipment, carts, drainage, and layout all determine whether sanitation actually works under pressure.