Summary
A well-designed layout improves workflow, reduces contamination risk, and ensures regulatory compliance.
Recommended Square Footage
- Small operation: 200–600 sq ft
- Medium: 600–2,000 sq ft
- Large-scale: 2,000–15,000 sq ft
Kitchen Workflow Zones
- Receiving & storage
- Pre-processing
- Infusion
- Cooking & mixing
- Depositing/molding
- Cooling & blast chilling
- Finishing & packaging
- Washing & sanitation
- Secure cannabis storage
- Finished goods staging
Layout Principles
- Flow from clean to dirty
- Minimize backtracking
- Smooth, non-porous surfaces
- Dedicated handwashing
- Clear separation between cannabis-active and non-active ingredients
Example Layout Types
- Small-batch gummy kitchen
- Chocolate room layout
- Multiproduct production floor
Sample Layout 1: Small-Batch Gummy Kitchen (~500 sq ft)
Best for: Startups, pilot kitchens, R&D, small brands.
Space assumption:
Approx. 20' x 25' (500 sq ft) rectangle, single production room with a small entry/service corridor.
1. High-Level Flow (Left → Right)
Door / Receiving → Dry & Cold Storage → Pre-Processing → Cooking & Infusion → Depositing → Blast Chilling → Packaging → Dirty Dish / Sanitation
This follows your principles:
- One-way flow
- Minimal backtracking
- Clear separation between raw and finished product
2. Zone-by-Zone Description
Zone A – Receiving & Storage (near entrance)
Location: Immediately inside the entry door along one short wall.
Equipment:
- 1 pallet jack / cart parking area
- 2–3 NSF shelving units (dry ingredients, packaging)
- 1 reach-in refrigerator
- 1 reach-in freezer
Purpose:
Receive sugar, gelatin/pectin, citric acid, flavors, THC actives (in locked container), packaging.
Zone B – Pre-Processing & Scale-Up Table
Location: Just past storage, along the same wall.
Equipment:
- 1 stainless prep table with undershelf
- Ingredient bins and food boxes
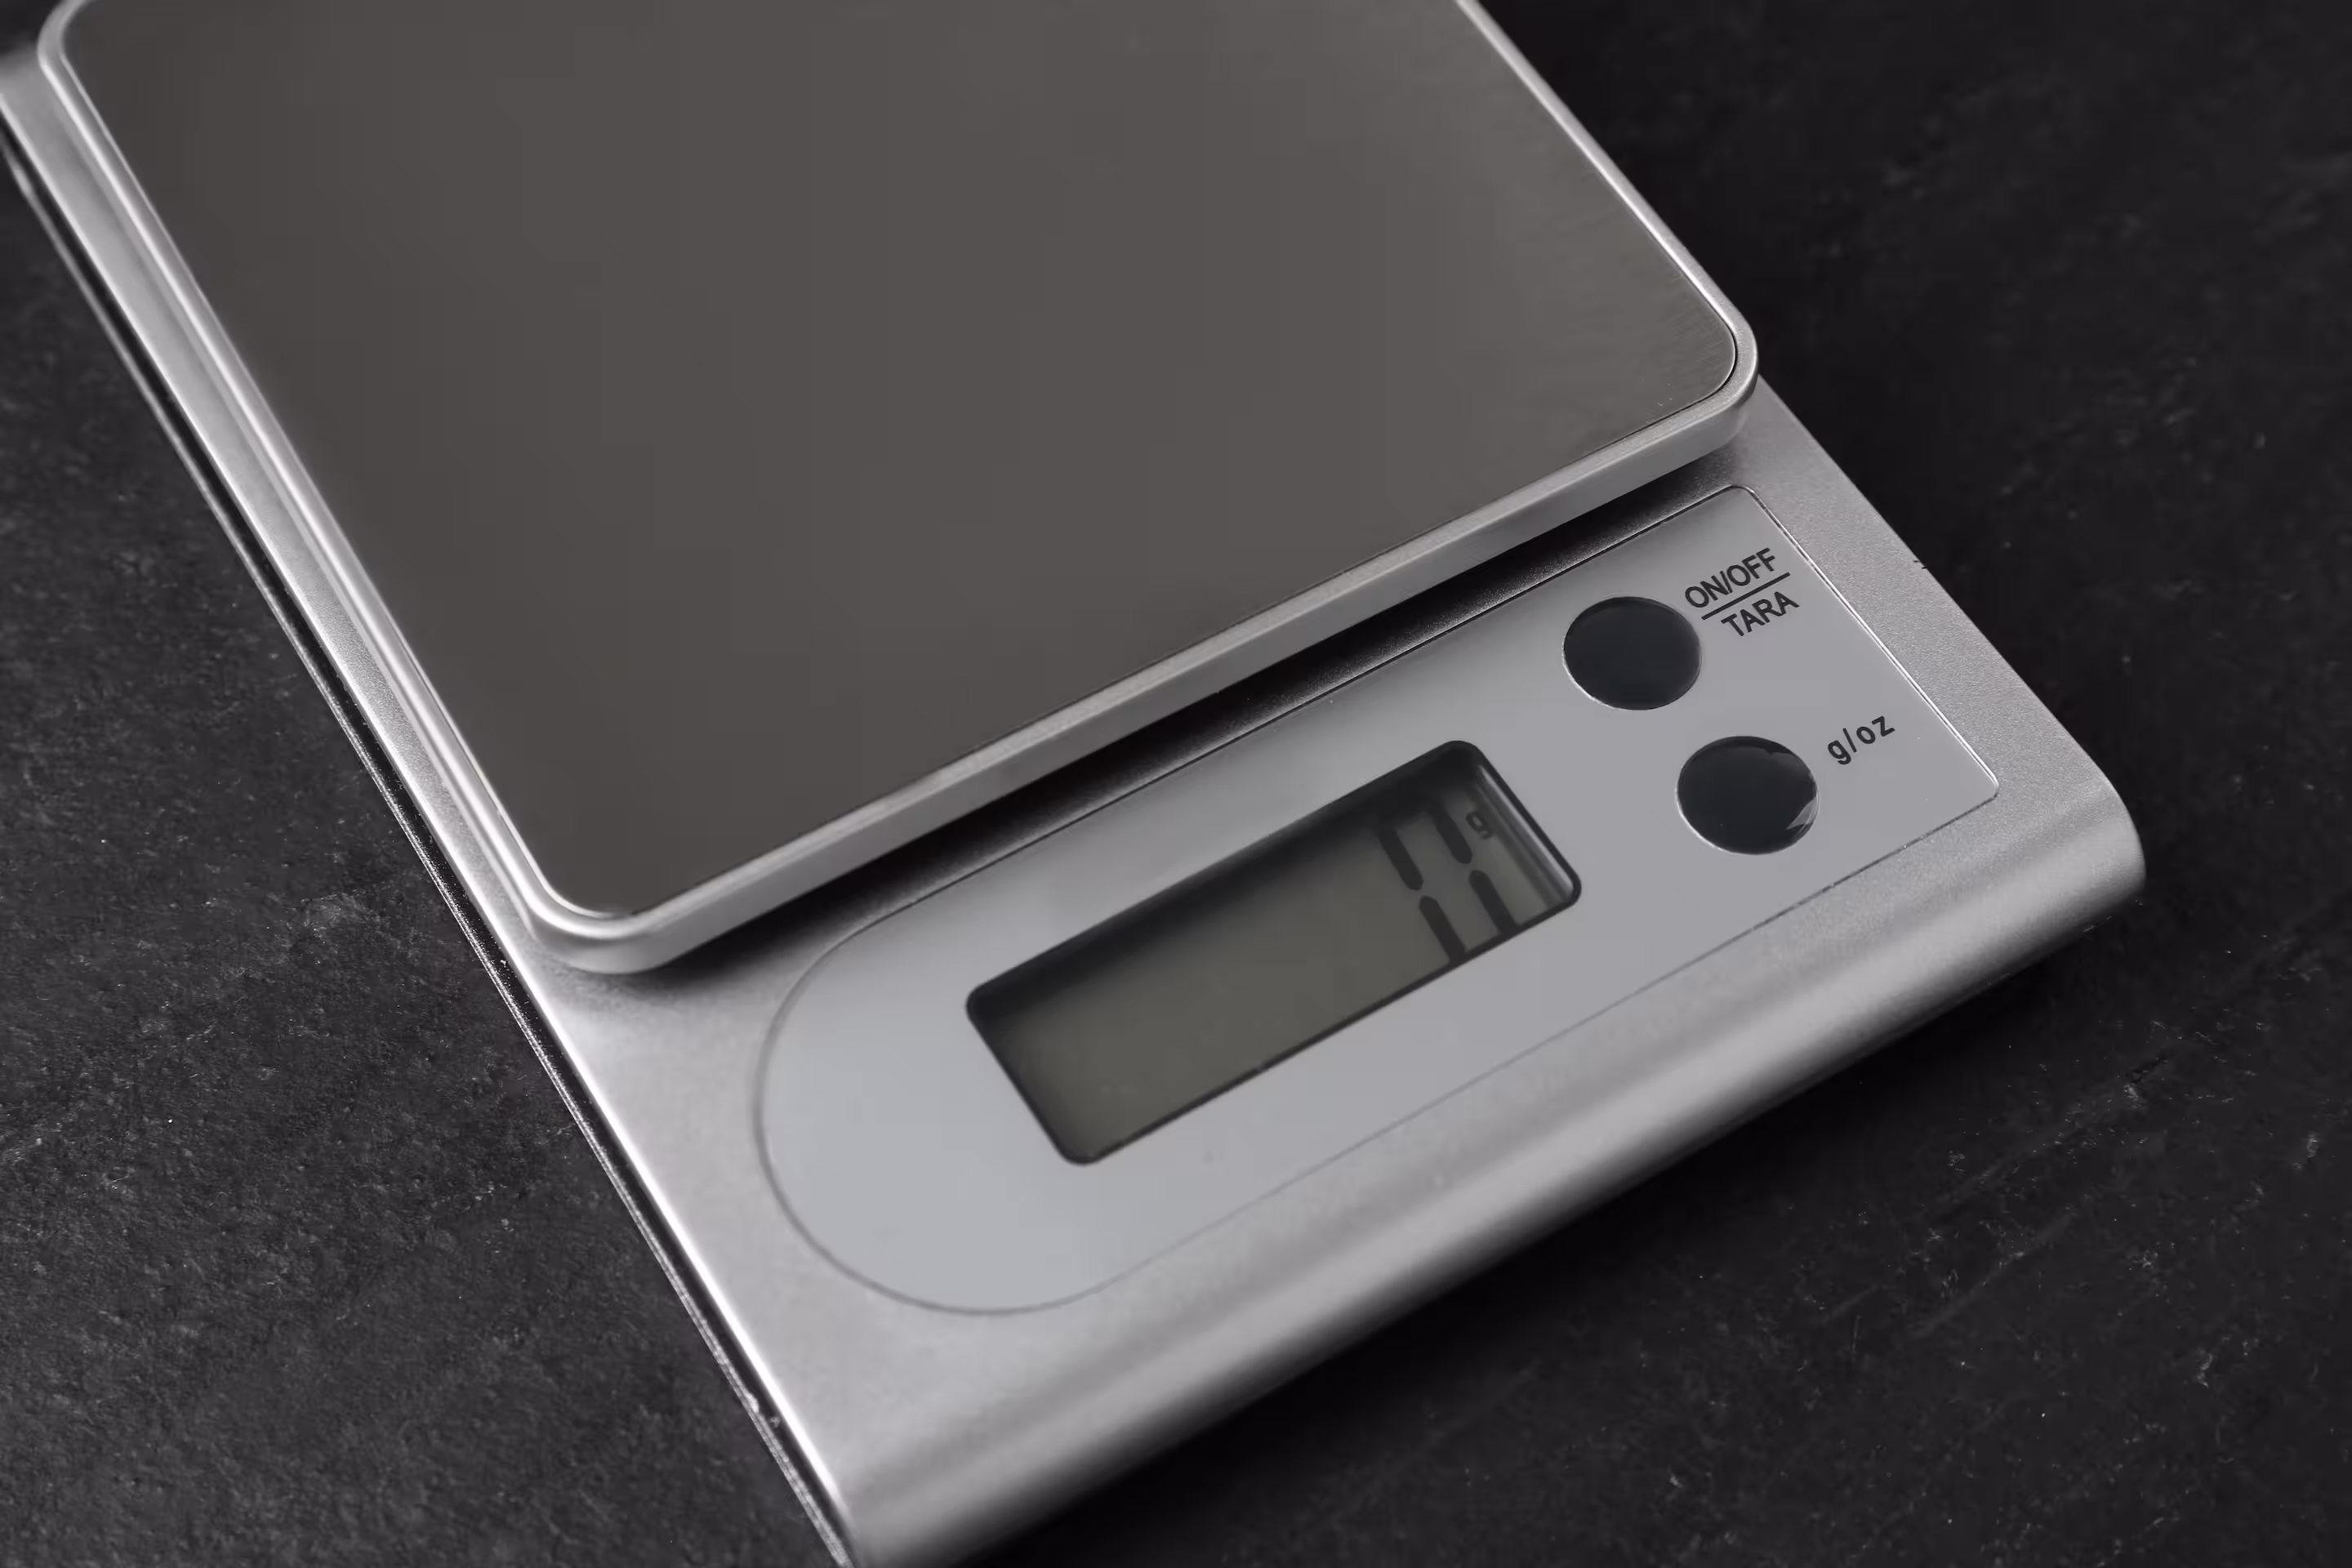
- Scales (bulk + bench)
Purpose:
Weighing sugar, gelatin, citric acid, flavors, and distillate before cooking.
Pre-measuring batches to speed up cooking cycle.
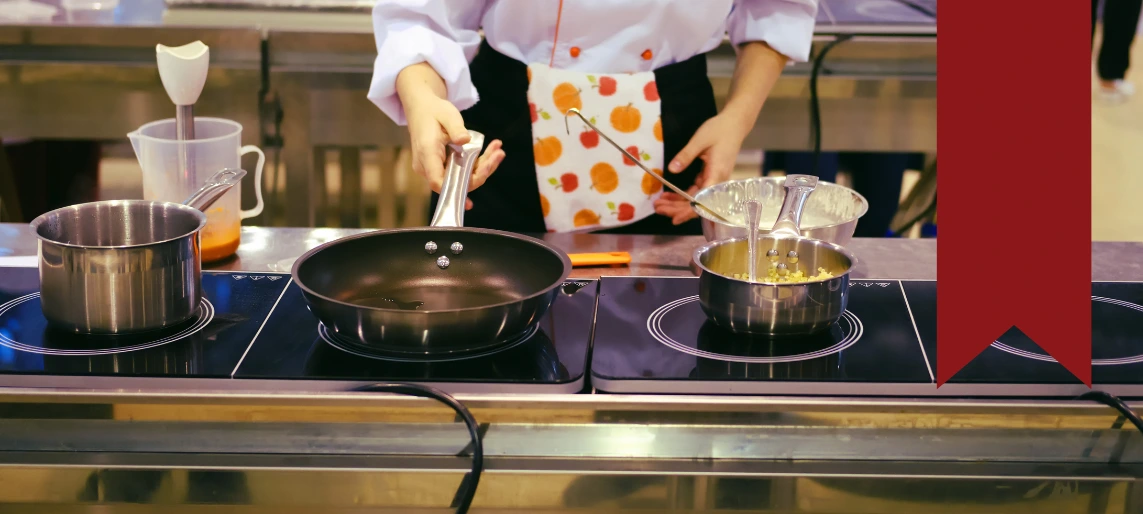
Zone C – Cooking & Infusion (Hot Side)
Location: Center of the room, along the opposite wall from storage.
Equipment:
- 1 countertop or small steam-jacketed kettle
- 1 or 2 induction burners
- 1 small convection oven (optional for decarb or R&D baking)
- Overhead Type II hood (if required by code)
Purpose:
Cook gummy syrup base and incorporate infused oil.
Maintain controlled temperatures for homogenization.
Zone D – Mixing & Homogenization
Location: Adjacent to cooking equipment, slightly offset to maintain safe distance from hot zone.
Equipment:
- 1 planetary mixer (10–20 qt)
- 1 immersion blender
Purpose:
Homogenize cannabinoid oil into syrup for even dosing.
Final mix before depositing.
Zone E – Depositing / Molding Line
Location: Center of the room or in a “peninsula” extending from mixing area.
Equipment:
- 1–2 stainless tables
- Silicone gummy molds on sheet pans or trays
- Small manual or semi-automatic depositor (optional)
Purpose:
Pour or deposit syrup into molds.
Minimal movement from mixing to depositing to avoid temperature drop.
Zone F – Cooling & Blast Chilling
Location: Short walk from depositing, along the back wall.
Equipment:
- 1 countertop or undercounter blast chiller
- Rolling racks or speed racks for tray stacking
Purpose:
Rapid set of gummies for better texture and microbiological safety.
Zone G – Finishing & Packaging
Location: Near exit door, opposite side from receiving to maintain one-way flow.
Equipment:
- 1 stainless packaging table
- Heat sealer
- Label printer
- Scale for final package weight checks
Purpose:
De-pan gummies, dust/coating (if used), weigh, and bag/box.
Apply compliant labels with THC symbols, warnings, and batch codes.
Zone H – Washing & Sanitation (Dirty Side)
Location: In a rear corner, physically separated from packaging by at least one table or low wall.
Equipment:
- 3-compartment sink
- Hand sink
- Shelving for drying molds and utensils
Purpose:
Wash molds, pitchers, utensils at the end of each shift.
Keep “dirty” functions away from finished product.
Zone I – Secure Cannabis Storage
Location: Along a shorter wall or in a small secure closet accessible only to authorized staff.
Equipment:
- Locking cabinet or cage for THC distillate, isolate, and high-value actives
Purpose:
Meet cannabis security rules and keep actives separate from bulk ingredients.
3. How It Looks in Simple Flow
You can display this on the site as a simple text “map”:
Door → Receiving & Storage → Pre-Processing → Cooking / Infusion → Mixing → Depositing → Blast Chilling → Packaging → Exit
Dirty dishes peel off to the side into Washing & Sanitation, and THC actives stay in a secure locking cabinet.
Sample Layout 2: Multiproduct Production Floor (~1,800 sq ft)
Best for: Mid-size operators making gummies, chocolates, and baked edibles in one facility.
Space assumption:
Roughly 30' x 60' (1,800 sq ft) rectangle with:
- Receiving door on one short side
- Exit/shipping dock on the opposite side
- Separate small Chocolate Room for climate control
1. High-Level Flow (Left → Right)
Receiving → Dry/Cold Storage → Pre-Processing → Hot Kitchen (Cooking & Mixing) → Product “Branches”:
- Gummy Line → Chilling → Packaging
- Chocolate Room → Cooling → Packaging
- Baked Goods Line → Cooling → Packaging
All converge near a shared Packaging Zone and Finished Goods Staging, with Washing/Sanitation tucked along the back “dirty” aisle.
2. Zone-by-Zone Description
Zone A – Receiving & Bulk Storage (5–10% of floor)
Near loading dock/door.
Equipment:
- Pallet area
- Bulk ingredient shelving
- Walk-in cooler + walk-in freezer
Purpose:
Receive all ingredients & packaging; first stop in the process.
Zone B – Central Pre-Processing Hub
Immediately adjacent to storage, central to all production lines.
Equipment:
- Long stainless tables
- Ingredient bins
- Scales + label printer
Purpose:
Pre-weigh ingredients for gummies, chocolate, and baked items.
Build batch kits and carts for each production line.
Zone C – Hot Kitchen Core (Shared for Gummies & Baked Goods)
Central band across the room.
Equipment:
- 1–2 combi ovens
- 1–2 convection ovens
- 1–2 steam-jacketed kettles (for gummies/syrups)
- Ranges / induction burners
- Type I/II hood with UL 300 suppression
Purpose:
Decarb (if in this room), cook gummies, bake brownies/cookies, prep syrups and fillings.
Layout Principle:
Ovens and kettles along the wall under hoods; prep tables in front.
Zone D – Gummy Line (Branch 1)
Extends from kettles toward one side of the floor.
Equipment:
- 20–40 qt planetary mixer
- Depositor or manual filling tables
- Tray/sheet pan line
Flow:
Hot Kitchen → Gummy Mixing → Depositing → Speed racks.
Zone E – Gummy Cooling & Blast Chilling
Shared cooling area near Gummy Line and Baking Line.
Equipment:
- 1 roll-in blast chiller
- Walk-in cooler (if not shared with storage)
- Speed racks
Purpose:
Rapidly set gummies and cool baked goods to safe temps.
Zone F – Baked Goods Line (Branch 2)
Parallel lane to Gummy Line, sharing the Hot Kitchen zone.
Equipment:
- Convection ovens
- Racks for baked pans
- Cooling tables
Flow:
Hot Kitchen → Baking → Cooling racks → Packaging.
Zone G – Dedicated Chocolate Room (Branch 3)
Small enclosed room (e.g., 10' x 15') off the main floor with separate HVAC.
Environment:
- ~65–70°F
- Controlled humidity
Equipment:
- Chocolate melters/tempering machines
- Dipping/enrobing station or up to a small enrober
- Cooling rack or mini cooling tunnel
Flow:
Pre-measured chocolate + actives from Pre-Processing → Chocolate Room → Cooling → Packaging area.
Zone H – Shared Finishing & Packaging Zone
Located toward the “clean” side of the facility, closer to the exit/shipping.
Equipment:
- Packaging tables
- Scales
- Labeling machines / printers
- Heat sealers
- Carton forming area
Flow:
- Gummies from Blast Chilling
- Baked goods from Cooling
- Chocolates from Chocolate Room
→ All converge here for final packing.
Zone I – Finished Goods Staging & Shipping
Near exit/shipping door.
Equipment:
- Pallet racking or shelving for packed cases
- Area for outgoing orders
Purpose:
Hold finished, labeled, tested products prior to shipment.
Zone J – Washing & Sanitation “Dirty Aisle”
Along rear/back wall, away from Packaging & Chocolate Room.
Equipment:
- 3-compartment sinks
- High-temp dishmachine
- Mop sink
- Chemical storage
Layout:
Accessed via back-of-house aisles from Gummy, Baking, and Chocolate lines so dirty equipment never passes through clean packaging zones.
Zone K – Secure Cannabis Storage & QA/Office
Separate secure room or caged area near the center/back of the facility but not on main production paths.
Equipment:
- Locking cage or vault for THC distillate, isolate, oils
- Small desks for QA and batch record review (either inside or adjacent office)
Purpose:
Maintain regulatory security and keep sensitive materials under strict access control.
3. How It Looks Conceptually
Left (Receiving)
Receiving & Bulk Storage → Central Pre-Processing
Center (Production)
Shared Hot Kitchen →
- Gummy Line → Blast Chiller
- Baked Line → Cooling
- Chocolate Room (separate climate-controlled room)
Right (Clean Side)
Shared Packaging → Finished Goods Staging → Shipping
Back Wall
Washing & Sanitation + Secure Cannabis Storage
Not sure where to start?
Aldevra’s kitchen design team can translate your menu and production targets into a code-compliant layout—whether you’re building a 500 sq ft gummy lab or a 10,000 sq ft multiproduct facility
Request a layout design from Aldevra’s kitchen experts.